
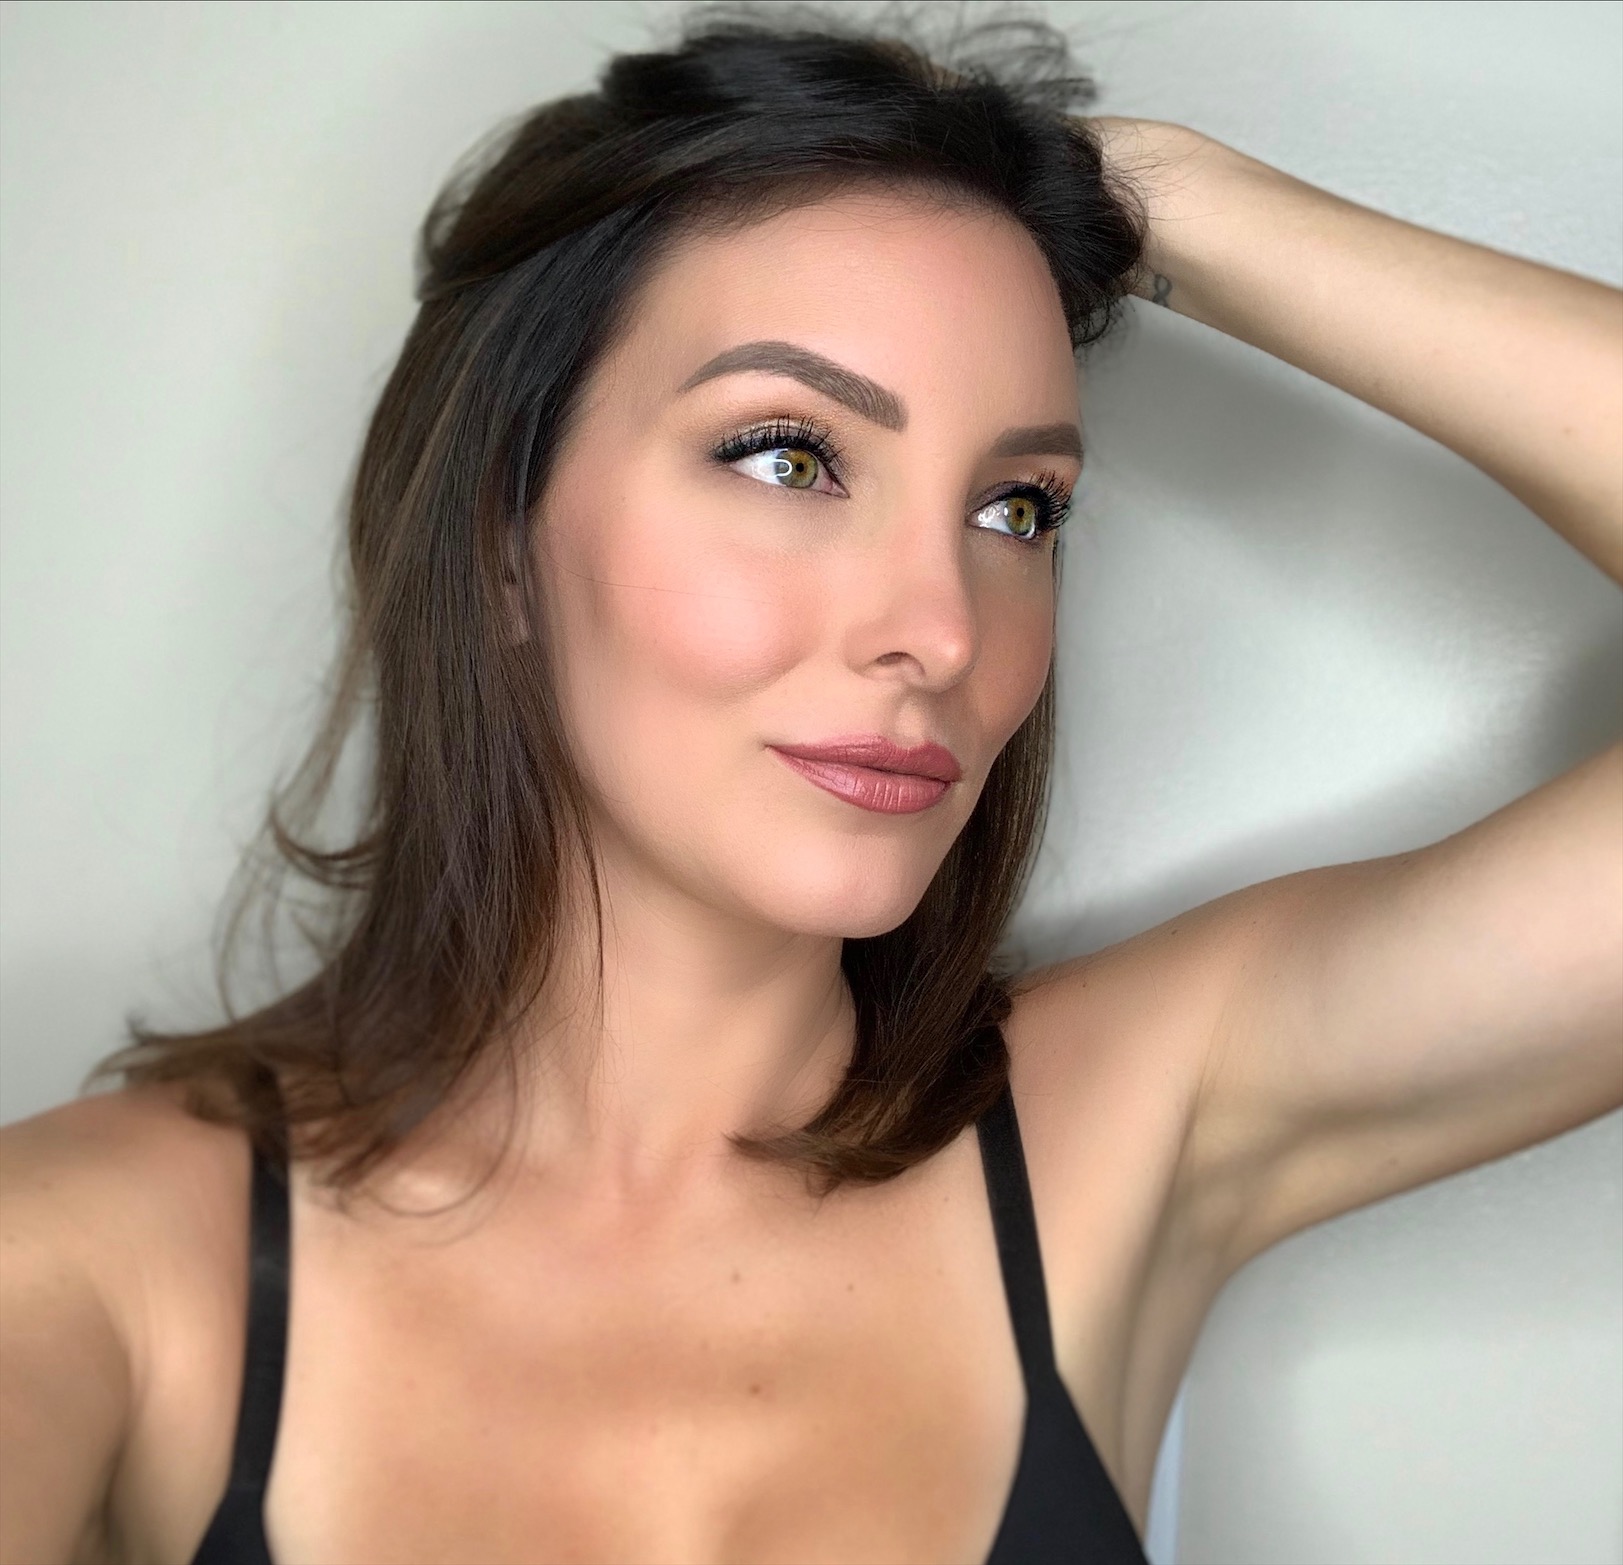
Hi lovely ladies! I hope you all had a wonderful weekend and a relaxing Memorial Day. Today I’ve explained in detail how to achieve one of my favorite go to makeup looks that is perfect for anything from running errands to a special occasion/date night. I love this look because of how versatile it is and the fact that it still looks clean and fresh, with just a little more edge to it. Whether you’re new at makeup or if you’re like me and have been getting into makeup since you were a little girl, this look is easy to achieve!
FACE
It’s important to prep your skin before applying makeup. The reason being, your makeup will apply much more professional looking and will last much longer. I began by applying Bobbi Brown’s Primer Plus Radiance to my entire face and neck. This will make your skin slightly tacky and give your foundation something to grab onto, as well as provide a layer of SPF to your skin.
Next, I applied Chanel’s CC Cream to my face and neck and blended it out with my fingers. I’m obsessed with the flawless finish it gives my skin. I always get compliments when I wear this!
Apply a concealer to your under eyes and to spot treat, as needed. I use MAC Studio Fix-24 Hour Smooth Wear Concealer. Blend it in with a damp beauty blender. This will help pick up any excess product and really press the concealer into your skin, while blending it out.
I seal this in by dusting Georgio Armani’s Luminous Silk Foundation Powder to my face and neck.
CONTOUR & BLUSH
Apply your favorite contour to the hollows of your cheeks, forehead and jawline. I used Benefit Cosmetics Hoola Bronzer for that natural looking contour. Remember, dark colors make features recede and light/bright colors will make them appear to come forward. This is why we add highlight to the corners of our eyes, cheekbones, cupid’s bow, and down the center of your nose. It will make those features come forward and give the face flattering dimension. To highlight, I used none other than the stunning highlight in Charlotte Tilbury’s Filmstar Bronze and Glow Contour Duo.
For a pretty pop of pink to my cheeks, I applied Chanel’s Joues Contraste Blush in the shade Rose Initial. It actually smells like roses! I used this blush on my wedding day and every time I smell the rose scent it brings me back and warms my heart. This color is the most perfect shade of pink I’ve ever found and it remains an all time favorite! This shade has the slightest sheen to it which gives your cheeks such a healthy, warm glow.

EYES
I began by filling in my brows with Anastasia’s Brow Definer in the shade Dark Brown.
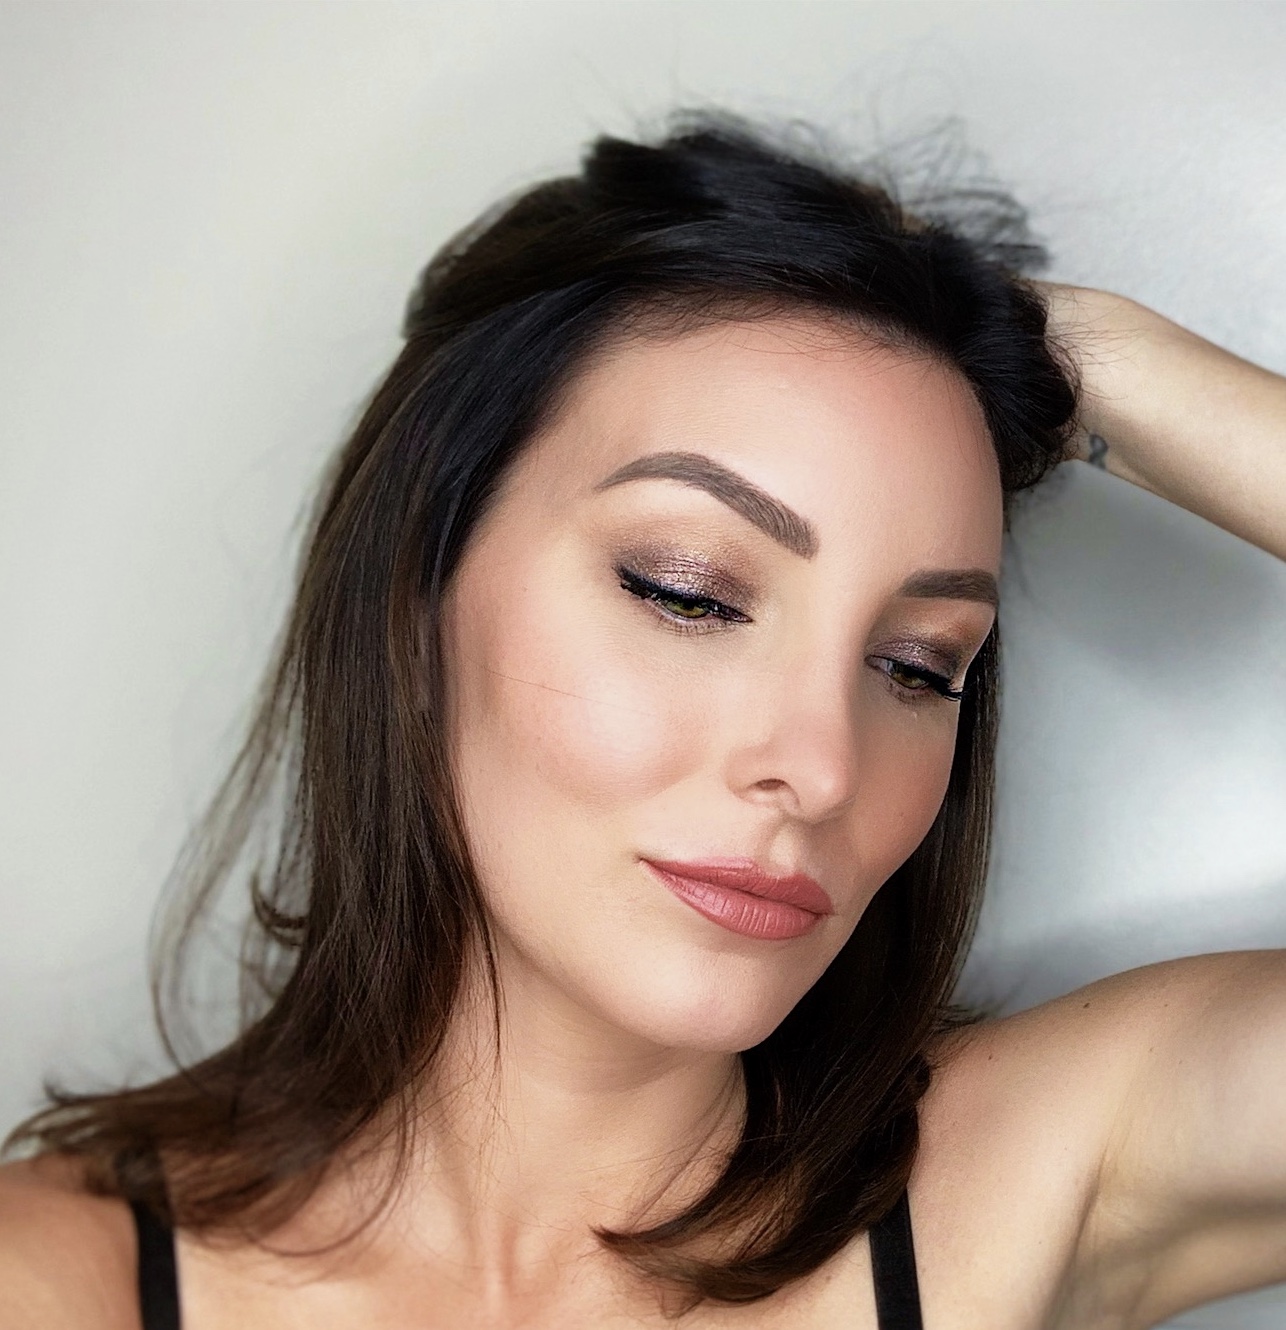
Next, I applied the Hoola Bronzer as the transition shade on my eyelid. I have hooded eyes so I add a few layers of color to help build some depth on the upper hooded portion of my lid. On top of that I used MAC’s Haux in my crease and eyelid to deepen the color for a more romantic look. I made sure to keep the application lighter so this look can transition from day to night. For extra drama, you can deepen the color by using a heavier hand and adding in a deep brown to your crease. Blend out well so there no harsh lines.
Now comes the fun part! I applied Christian Dior’s DiorShow Fusion Mono eyeshadow in 781 Fahrenheit. I’ve searched and don’t think it’s available anymore, however, I found an amazing substitute! The shade Classified in Jaclyn Hill’s Armed and Gorgeous Palette looks incredibly beautiful and similar. Simply rub your finger in the shimmery shadow and apply directly to the areas of your lid that you want to shine for the gods to see!
Grab your favorite black eyeliner and draw it on very close to your eyelashes on your upper lid, then smudge it out slightly. Next, line the inside of your upper waterline with the black pencil also. I use Maybelline Lasting Drama Waterproof Gel Pencil.
To lift the outer corner of your brow, apply a lighter color to your brow bone and blend it in with the rest. I use Anastasia’s ProPencil and gently blend it out with my finger.
Finish off the eyes by curling your lashes and applying a rich, black mascara. I use Kevyn Aucoin’s The Eyelash Curler, and Loreal’s Hydrofuge Voluminous Mascara in Waterproof Carbon Black.
LIPS
To line my lips, I applied Soar by MAC and filled it in with MAC’s Twig lipstick.
Finish off your whole look by misting your face with a setting spray. Although it may look like a lot of steps, this look is actually very simple and can be done in 15 minutes!
I hope you enjoyed this post. Thank you for the love girls! Have a wonderful day. XO
Love Always,
Kimberly